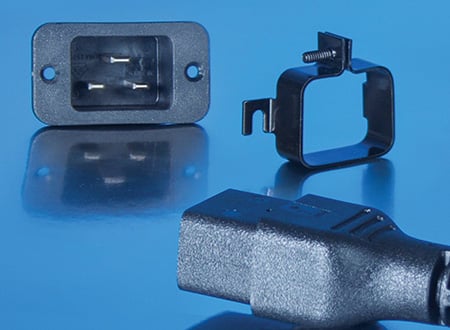
 Interpower connector locks were designed to prevent accidental power interruption. Whether it’s critical medical, financial, or inventory data, why risk data security before it gets safely stored? Or why ruin an inlet, outlet, or a cord set with abrupt disconnects?
While there are more convenient ways to secure connections—such as the Interpower Tool-free Connector Lock—the screw-mounted locks are the most secure way to anchor an inlet or outlet to give you peace of mind.
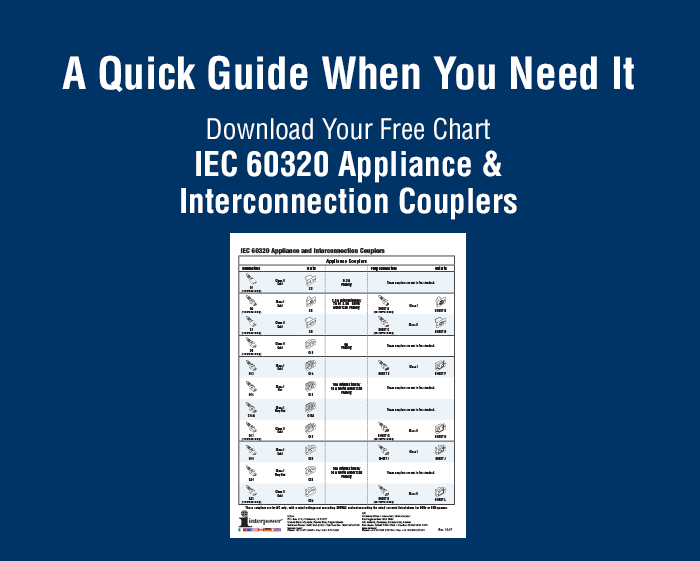
Each connector lock is designed for the molding of a specific connector style. Interpower offers connector locks for use with IEC 60320 C13 and C19 connectors and with Sheet E and Sheet I plug connectors (find us at www.interpower.com/ic/ and click on the “products” tab).
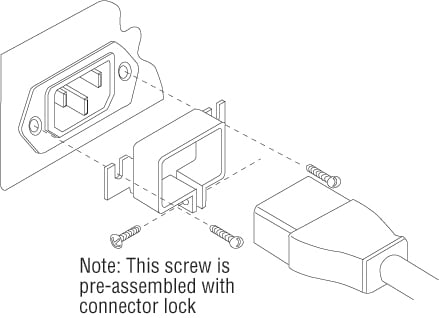
Installation Instructions:
- To ensure proper alignment of the clamp with the connector, loosen the
 two mounting screws on the sides of the power inlet.
- Slip the connector lock under the mounting screws and leave the mounting screws loose.
- Insert the cord set through the connector lock into the inlet. Be sure that it is pushed completely into the inlet. This step is very important for your safety—a partially mated connector could cause a fire. Once the connector has been properly seated, the connector lock will keep it there in the future and assure your safety.
- Tighten the locking screw on the connector lock so that the clamp firmly grips the connector on the cord set.
- Tighten the two mounting screws on the sides of the inlet. The connector lock is now secured on the connector and chassis, so that the cord set may be easily removed and inserted in the future.
Locking the Cord Set:
Note: After the installation has been done once, it is not necessary to adjust the side mounting screws again.
- Insert the cord set through the lock into the connector. Be sure that it is pushed completely into the connector.
- Tighten the locking screw on the cord set connector so that the lock firmly grips the cord set.
Removing the Cord Set:
Note: After the installation has been done once, it is not necessary to adjust the side mounting screws again.
- Loosen the locking screw on the cord set connector lock.
- Remove the cord set.
Testing
Testing is conducted for all connectors in our Product Development Test Lab in Ames, Iowa. The specific machine used for these tests is the Mark 10 test apparatus.